What is the JR ?
[ Download PDF ]
The JR line is essentially a network of different trains and lines all run by the JR company throught Japan. Each line has its own name, color coded line and color coded train. For instance one of these lines is the Yamanote Line and it has as its color lime green, and its trains have a single lime green strip. TheYamanote runs in a complete circle around Tokyo. Another is the Chuo Line which runs right through that circle (east to west). And then there is the Saikyo line which runs north to south, and the list goes on.
However, not all JR train stations have all of these lines. For smaller stations such as Otsuka, Sugamo, Harajuku there will only be the JR Yamanote line. However larger stations such as Shinjuku can have several different JR lines. For example Shinjuku has:
- Yamanote Line
- Chuo Rapid Service (express, only stops at some stations)
- Chuo Local Service (not express, stops at all stations)
- Saikyo Line
- Shonan Shinjuku Line
The more lines a station has the larger and more complex the station will be. Think of a train station as just a collection of seperate train stations, one for each line that meets at that station, all coming together at the same location, so the passengers can get off or switch to a different train, which goes in a different direction.
Exits
Larger stations have more exits and its easier to get lost. Typically a station is split up into either: North, South and Central exits. Or East, West and central. Each of these main exits then also has multiple sub exits. To avoid getting lost all you have to do is observe the yellow signs on the ceiling, they clearly state which exit is in what direction. Often near the entrances/exits there will be a large chart on the wall which shows a map of the station with notations for all exits and surounding areas.
Info Map
Figure #1
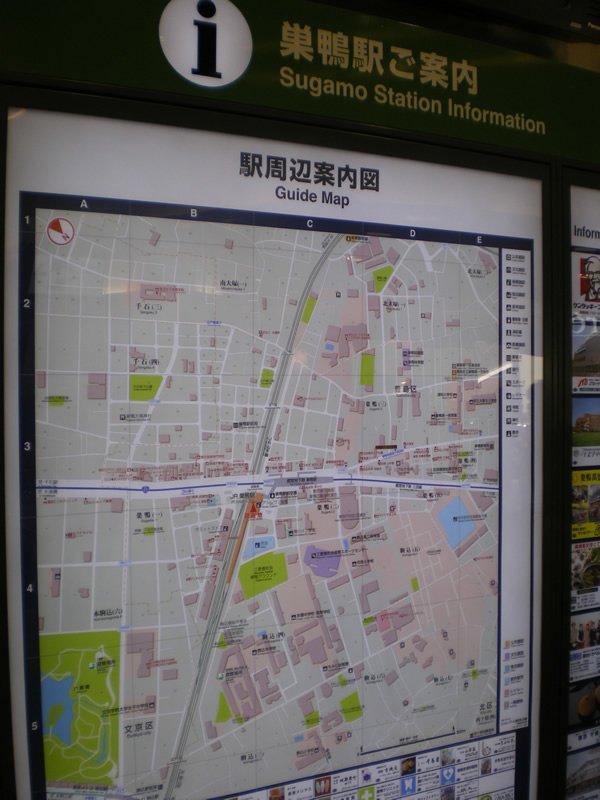
These maps are not only useful for finding your way outside the station but you can use them to find points of interest and great spots for tourism. As you can see in the example its pointing out the location of two Museums.
Subways
JR stations usually will have a subway undergound nearby where you can transfer. Some are so small that there is no acompaning subway, and some are so large that there are many. For example Ikebukuro station has three different subway lines, in addition to the three different JR train lines which converge at the station.
Subways are not run by JR, they are operated by the Tokyo Metro company. There are over tweleve seperate subway lines which run through and about Tokyo. And like the JR line, each has its own color code.
Pricing
The JR line is very affordable. For instance Ikebukuro to Shibuya would only cost 160 yen (about $1.50) The lowest ticket you can buy is 130 yen which typically will get you 3 stations from where you are buying it. Tickets can increase dramatically in price. For instance Ikebukuro to Yokohama would be around 600 yen, and Ikebukuro to Narita would be 1,000 yen. But these are cities outside the Tokyo Prefecture so naturally they are more expensive.
Orientation
Now its time for an orientation of a JR train station. This is simple orientation which only covers the surface, the purpose is to just give you an acqaintance. After reading this you should move on to the Field Trip - Otsuka to Sugamo, step by step, to see how it all ties together.
Figure #2
Figure #3
Figure #4

Figure #5
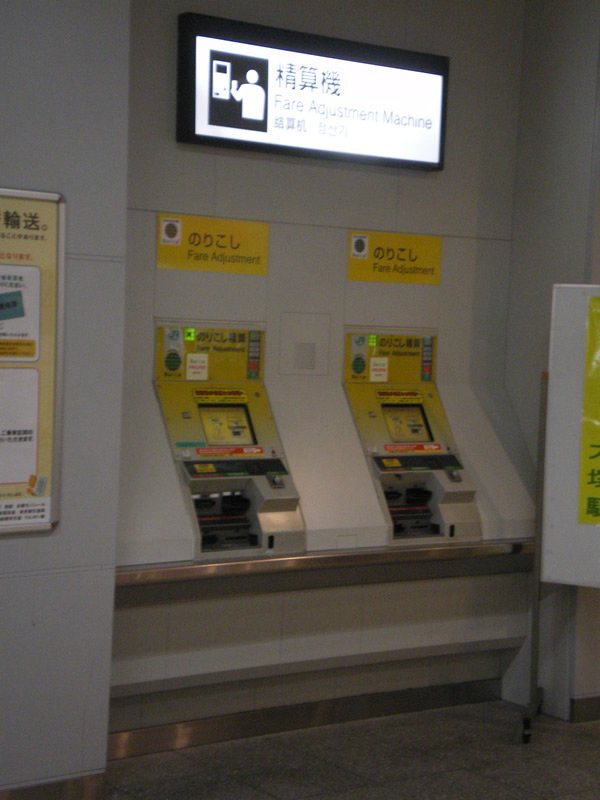
Figure #6
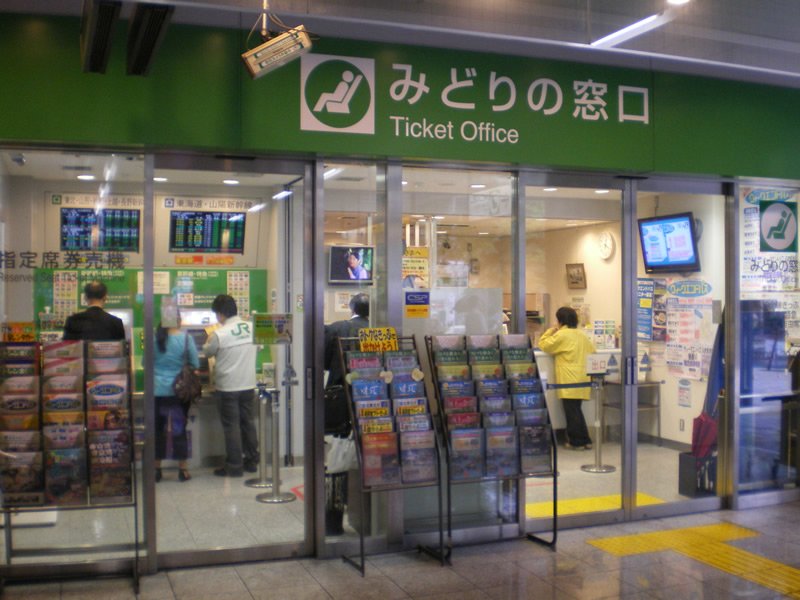
Figure #7
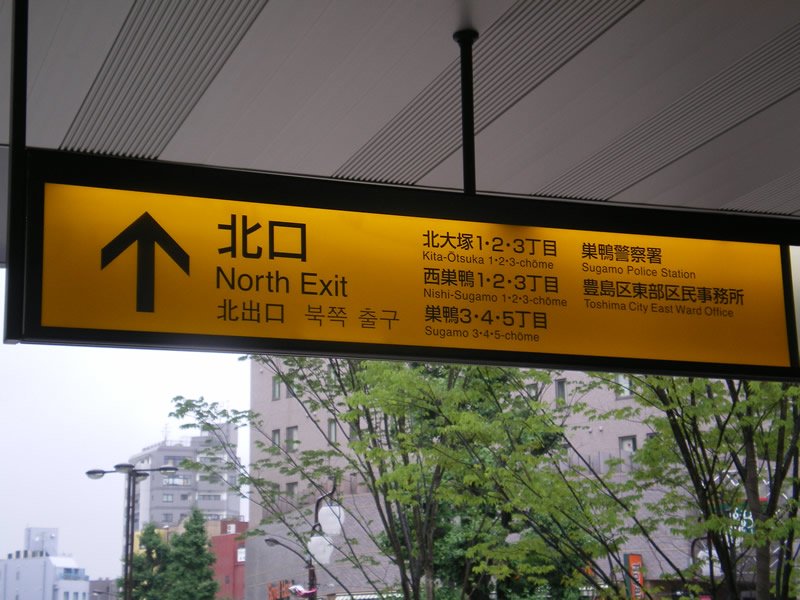
Figure #8
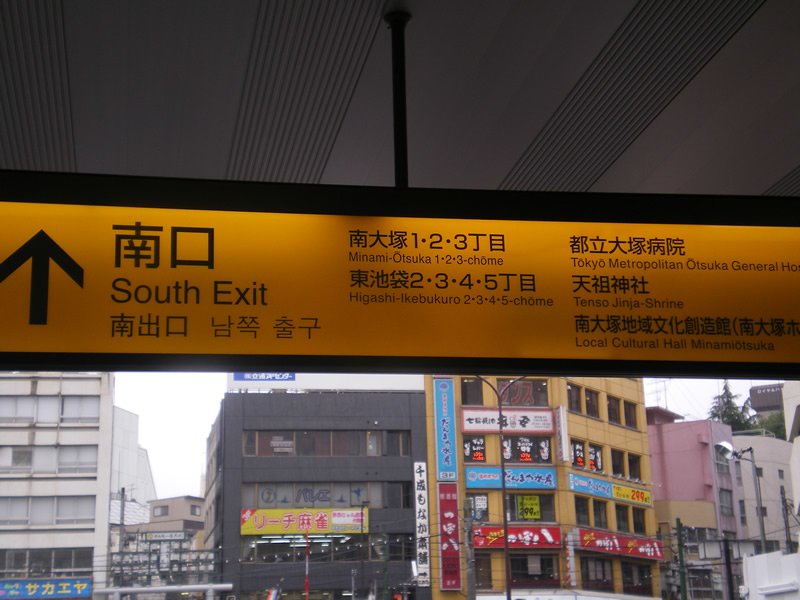
Figure #9

Figure #10

Figure #11

Figure #12
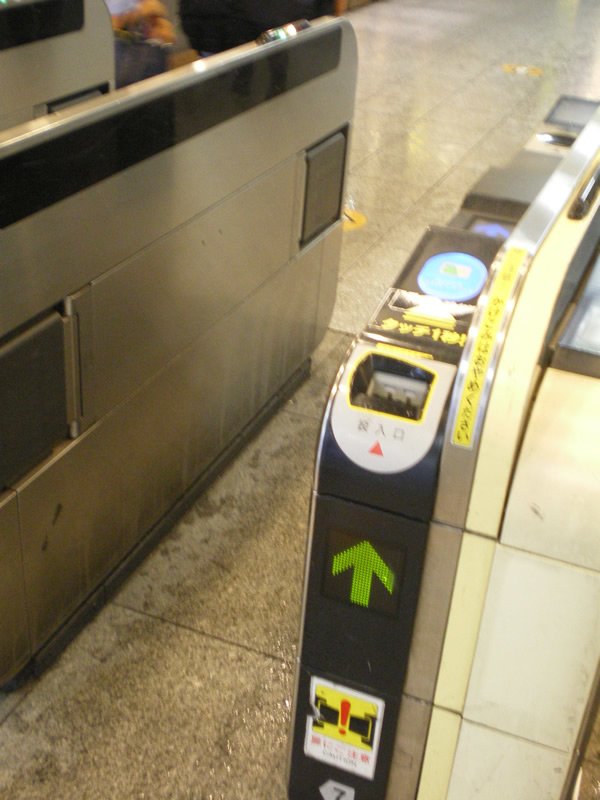
Figure #13
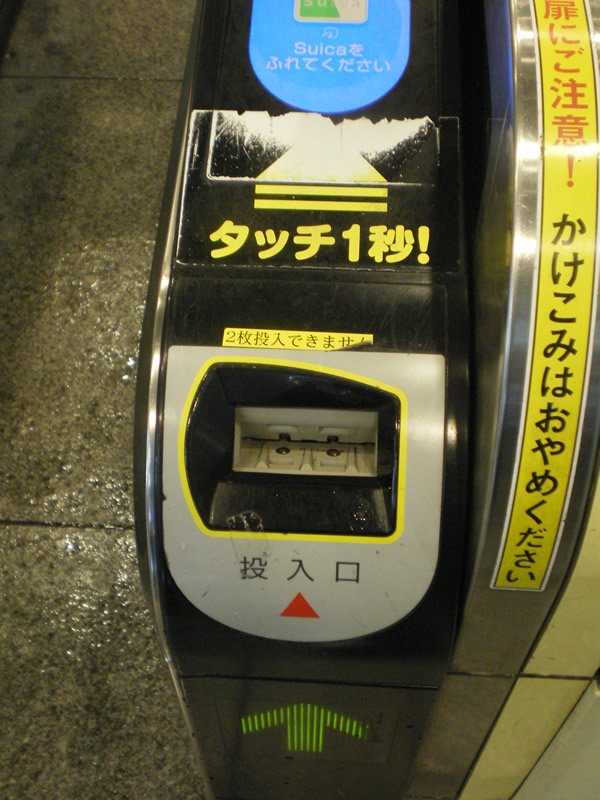
Figure #14

Figure #15
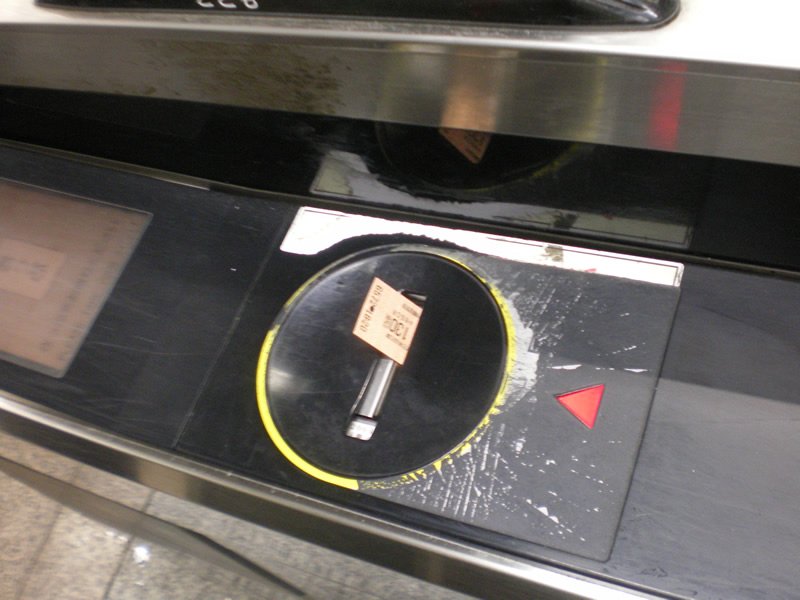
Figure #16
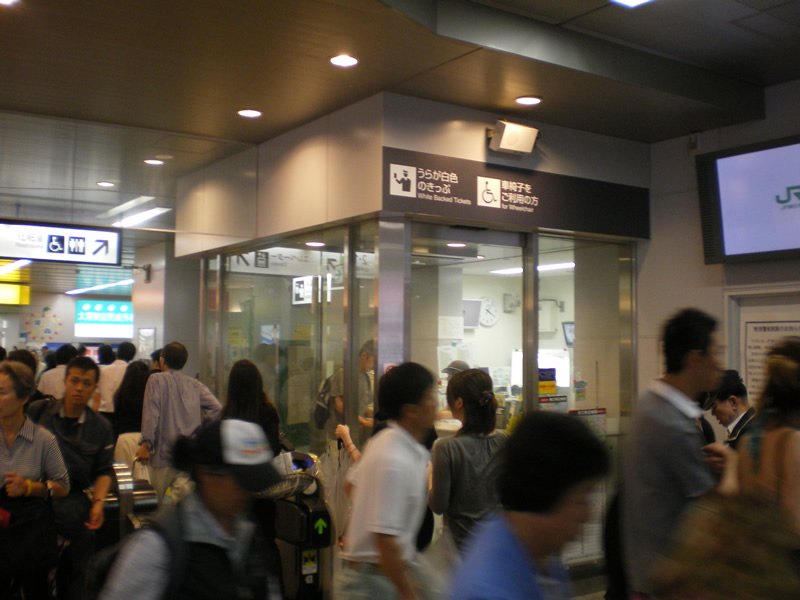
Figure #17
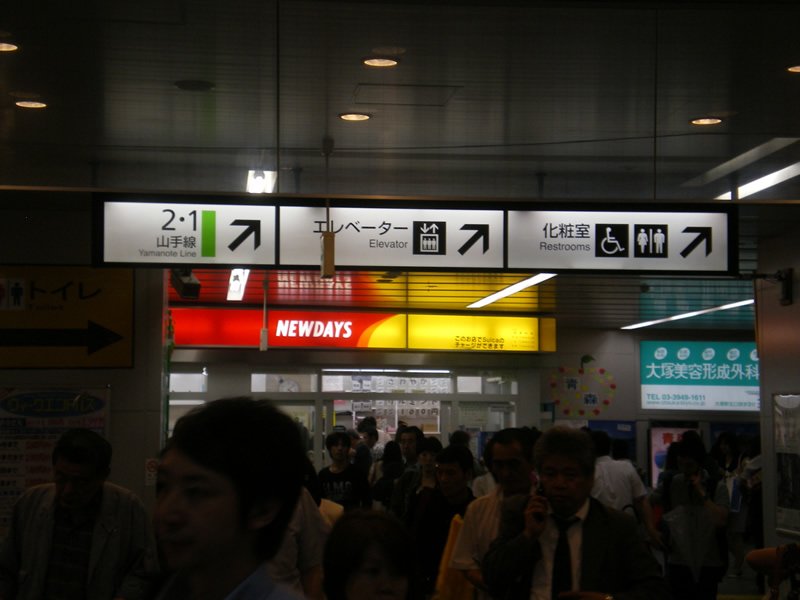
Figure #18
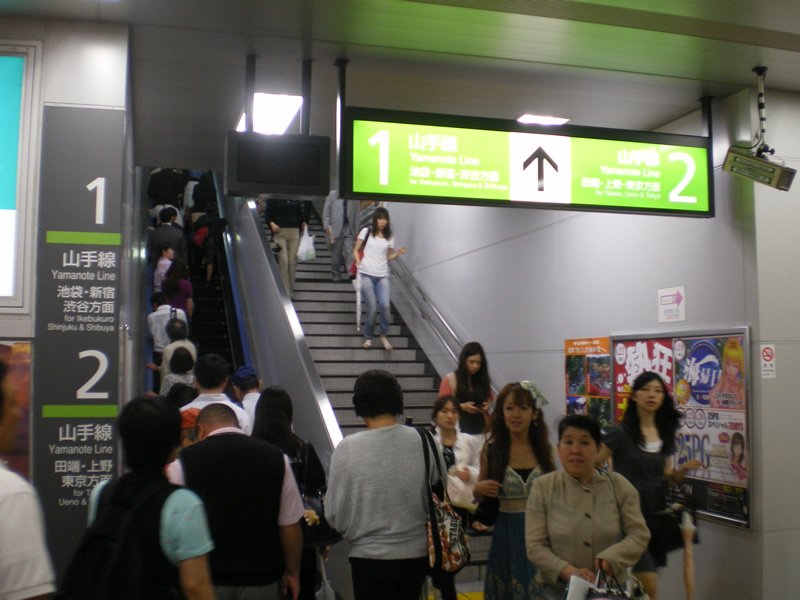
Figure #19
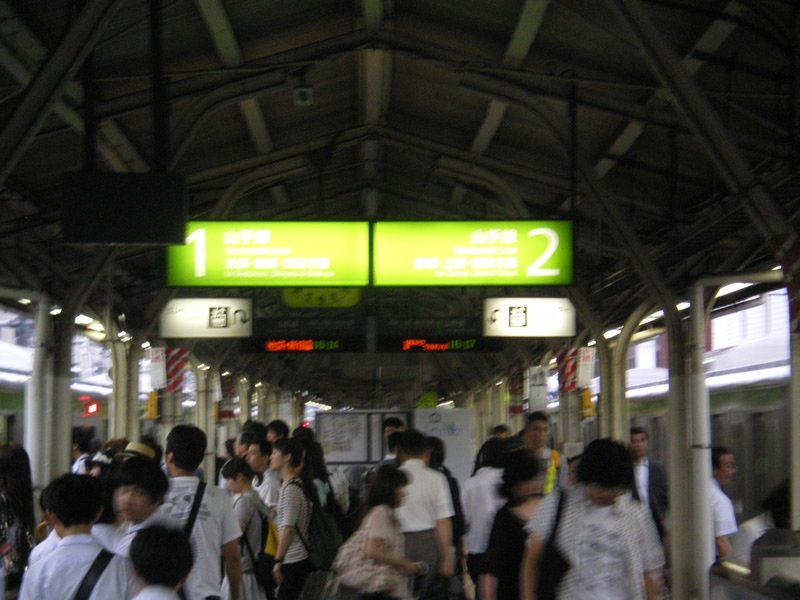
Figure #20

Figure #21
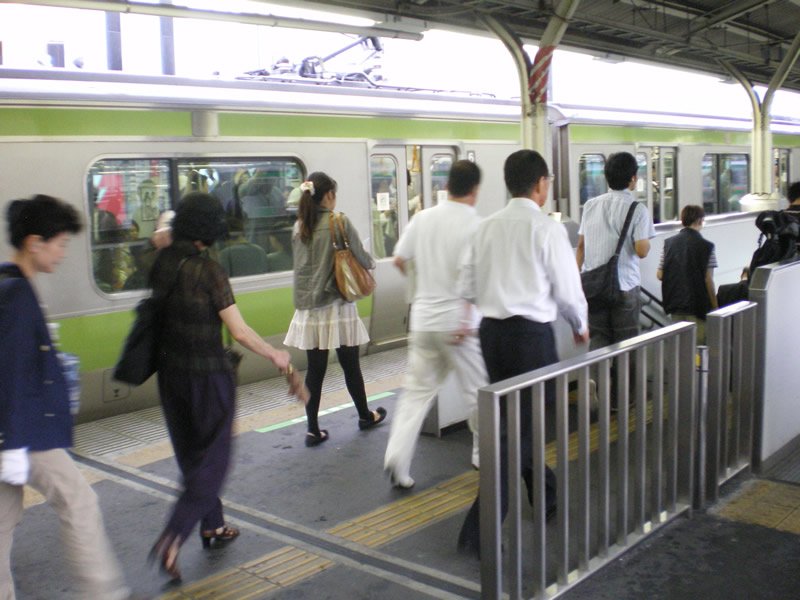
Figure #22