Otsuka to Sugamo and Back
A field trip, step by step
[ Download PDF ]
This is a practical step by step guide to get you from Otsuka Station to Sugamo, and then back to Otsuka Station. The purpose of this if for real world orientation and experience, to get you familiar with the use of the JR Yamanote line, and JR train stations in general. Let's begin.
Figure #1
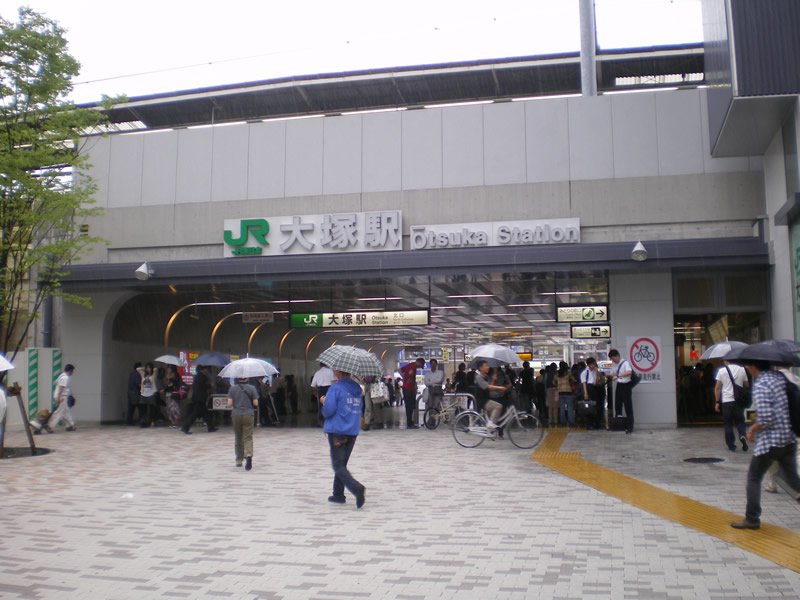
Otsuka JR station, North Entrance. Walk straight in and turn right once you're inside, and you'll find the ticketing area.
Figure #2
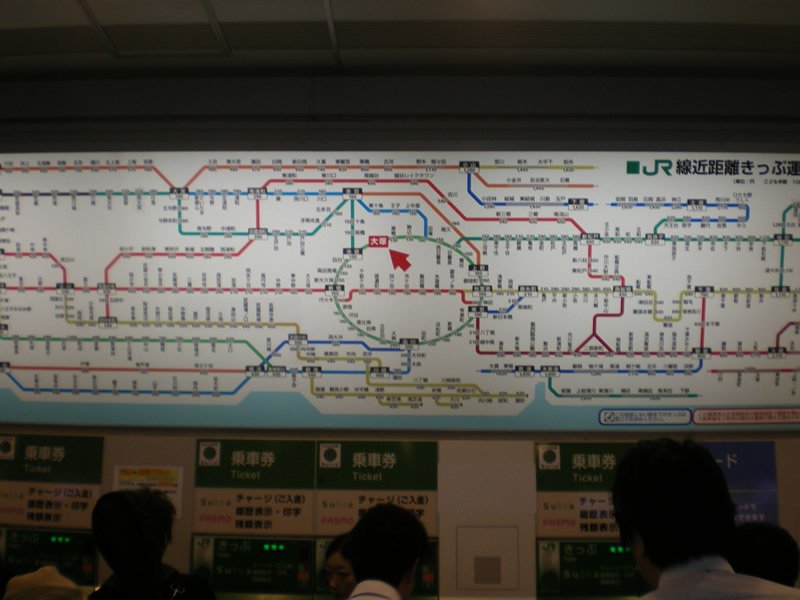
Notice this huge screen. This is the East JR Railway Line Network. In the center notice the line which is a green circle, that is the Yamanote Line. (the online line at Otsuka Station) The red arrow is pointing to our station: Otsuka. We're going to the next station, headed east, which would be Sugamo. Unforutnately this map is only in Japanese, so make sure to get a copy of an english one here: [download]
Figure #3
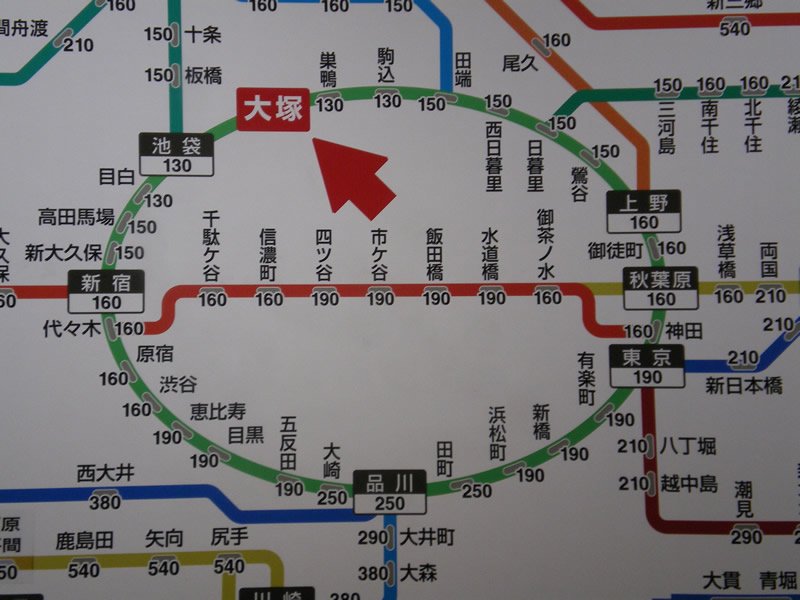
A close up. Under each train station name is a number, this number shows how much the ticket will cost to get to that station. For Sugamo it costs 130 yen. Note: Notice how it does not show all other JR stations that converge on the larger stations. For exmaple for Ikebukuro it only shows one other JR line, and the same for Shinjuku. (Ikebukuro is the next station, heading west after Otsuka, and Shinjuku is the fifth station west of Otsuka. Don't worry, they are still there!
Figure #4

Next, approace the green ticket machines. This is where you buy your ticket.
Figure #5
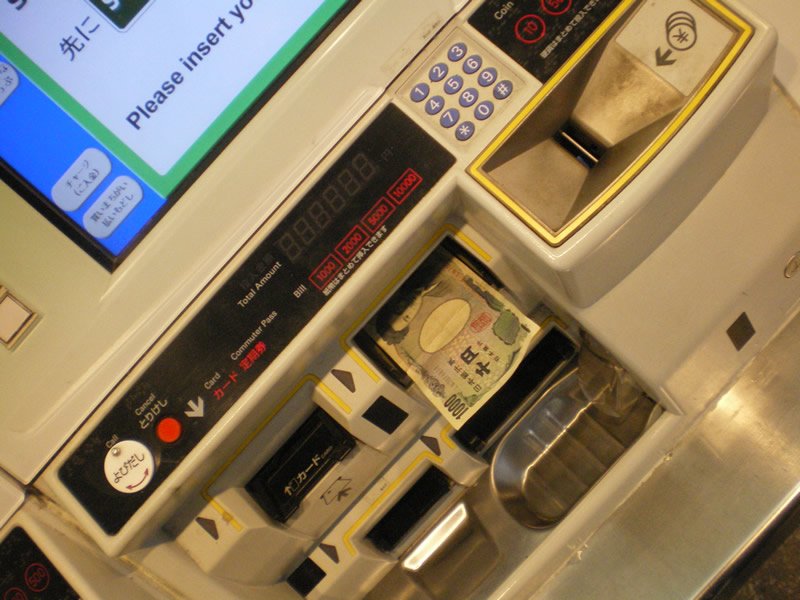
Drop your change in, or slide your cash in.
Figure #6
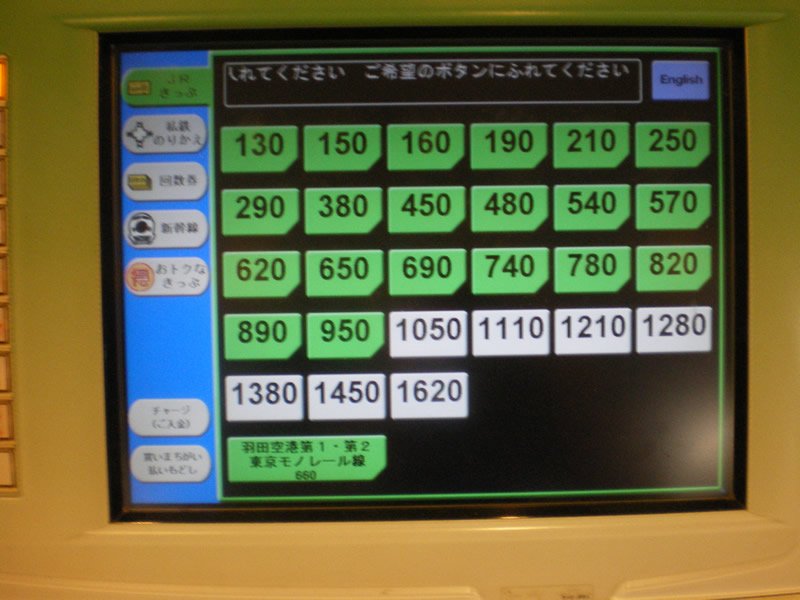
Next, after inserting your money a series of little tickets will light up green. If they are green it means you have deposited enough money to buy them. If they are white (like the ones below) it means you need more money. Since I inserted 1,000 yen it lit up all tickets up to 950 yen. With your finger press the green '130' ticket on the screen. Note: notice there is a blue 'english' button should you need assistance, but you won't because its terribly easy.
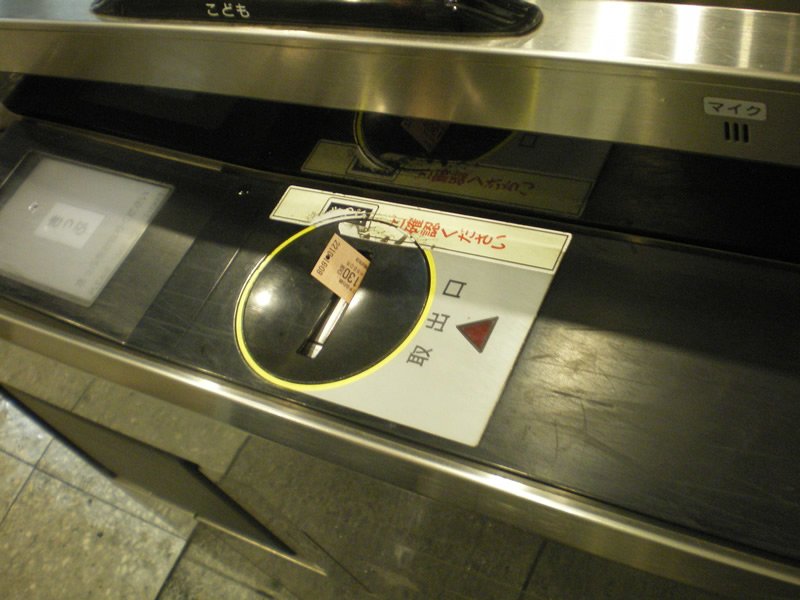
Figure #7
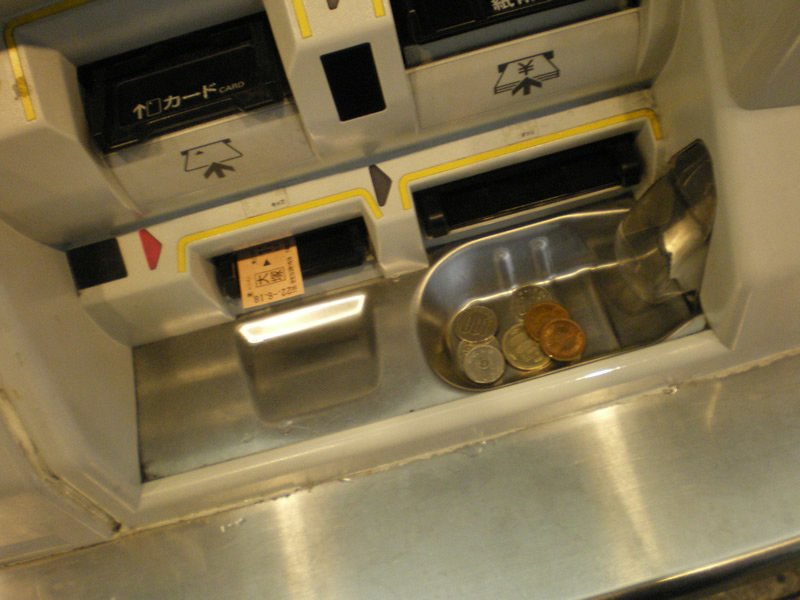
Next, your ticket comes popping out, and so does any change that the machine owes you.
Figure #8
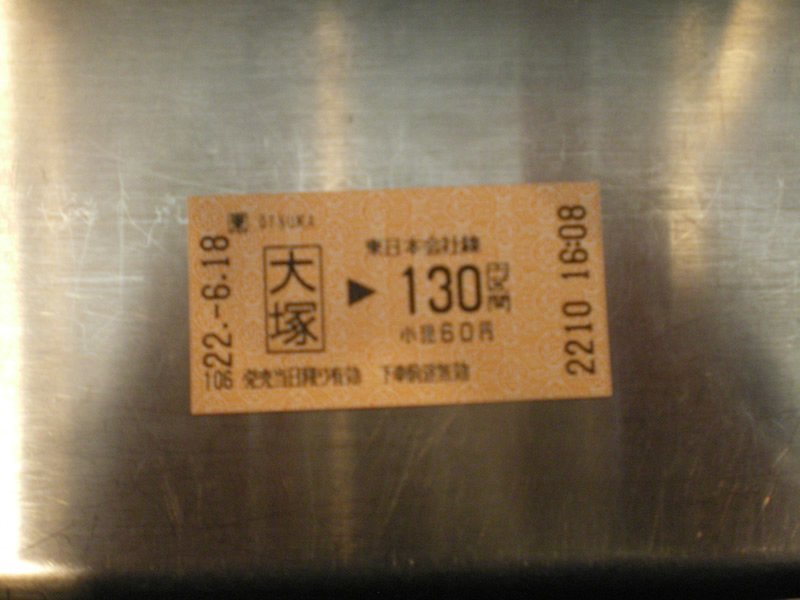
Here is your ticket. Notice it has its value printed on it '130 yen' You could actually leave the station and come back another day with this ticket and use it. As long as you don't put it through the ticket gate, the ticket will stay 'fresh'
Figure #9
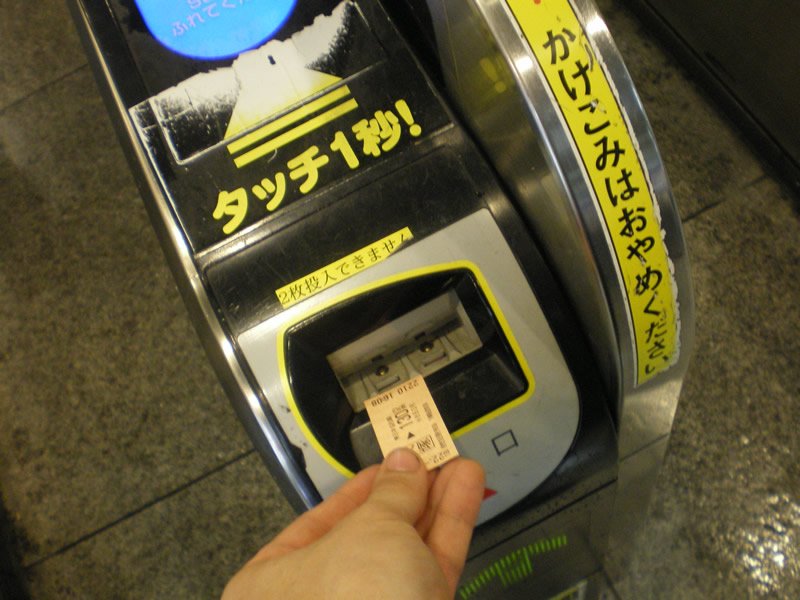
Now, after buying your ticket, approach the ticket gate, and insert your ticket into the slot, as shown in this figure.
Figure #10
The machine will suck in your ticket, open the gate, and then the ticket will pop up on the other side of the gate, make sure to take it and hold on to it. You will need it for when you go through the 'exiting' ticket barrier.
Figure #11
Walk straight and turn right, and you should see this view, next ascend the escalator.
Figure #12
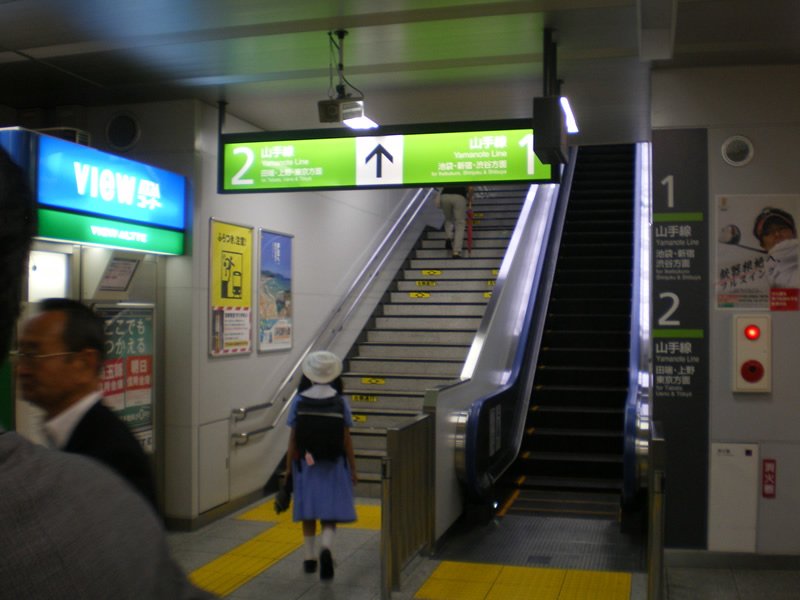
This is the second entrance to the platform, it does not matter which one you choose.
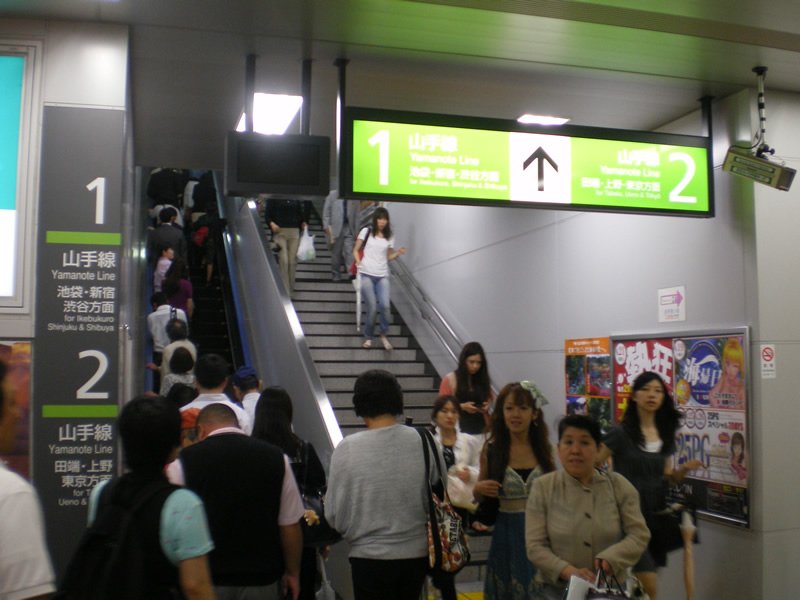
Figure #13
After ascending the stairs you will see this view. This is the platform. With Platform One on the left and Platform Two on the right. We are going to Sugamo which is headed in the direction of Tabata, Ueno and Tokyo, so we will be using Platform Two.
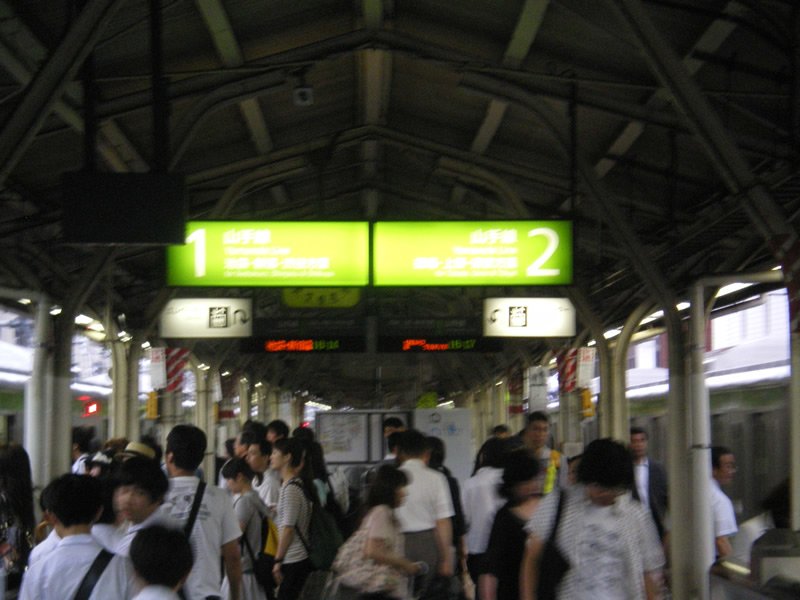
Figure #14
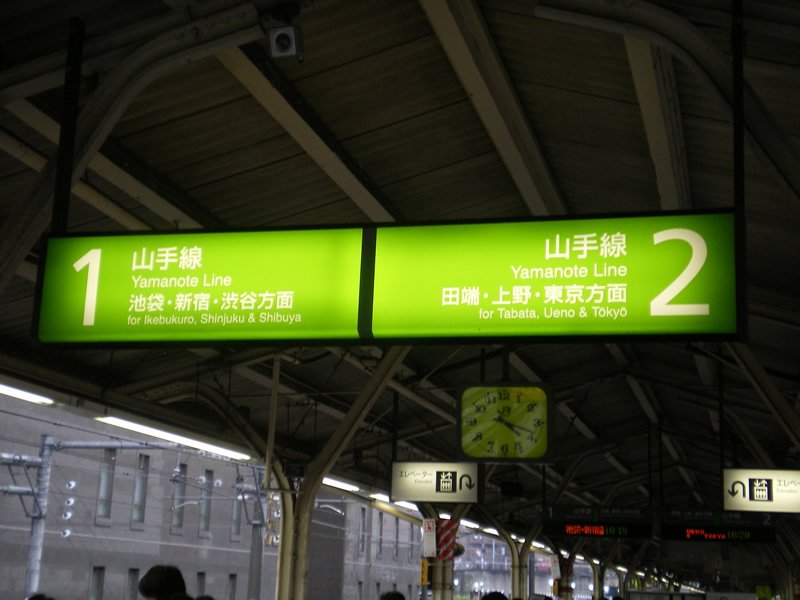
A close up on the Platform signs.
Figure #15
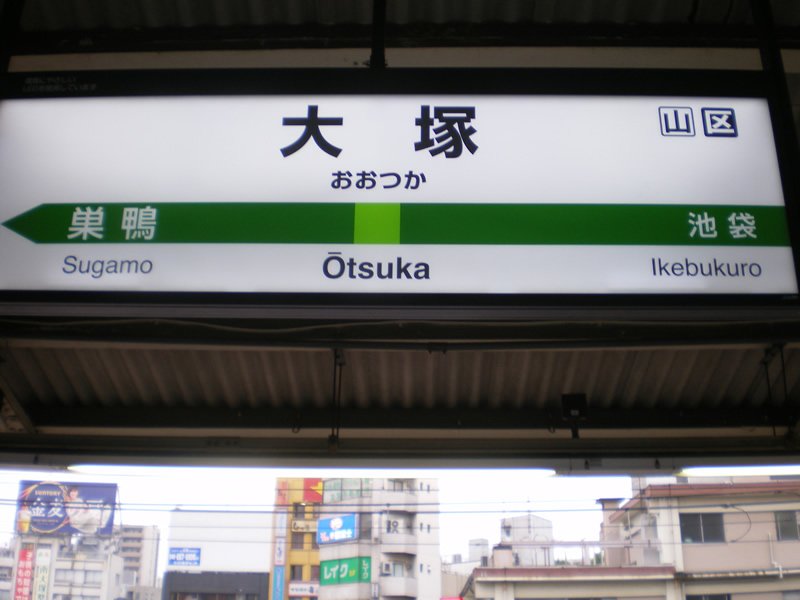
Some platforms have helpful signs like this, which tell you right away which is the next station that the train is going to on your platform and which was the last which it just came from.
Figure #16
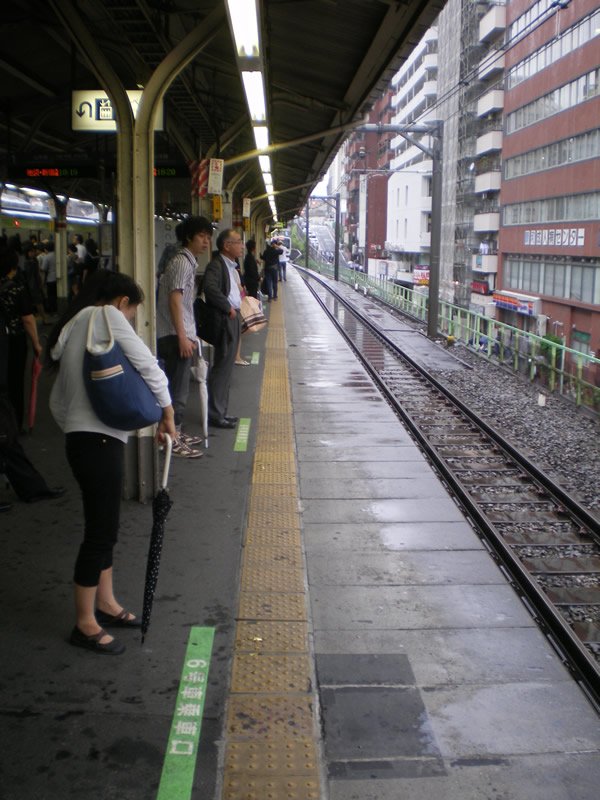
Waiting on the platform for our train.
Figure #17
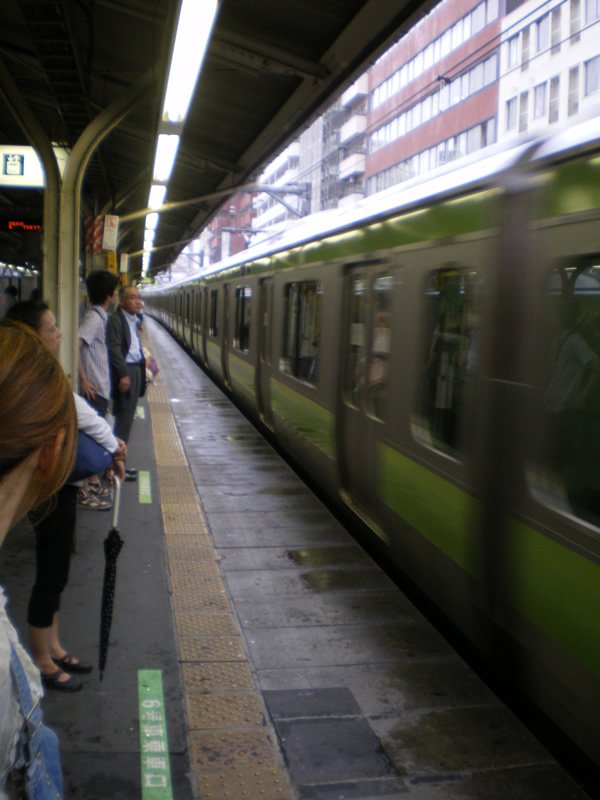
The train arrives.
Figure #18
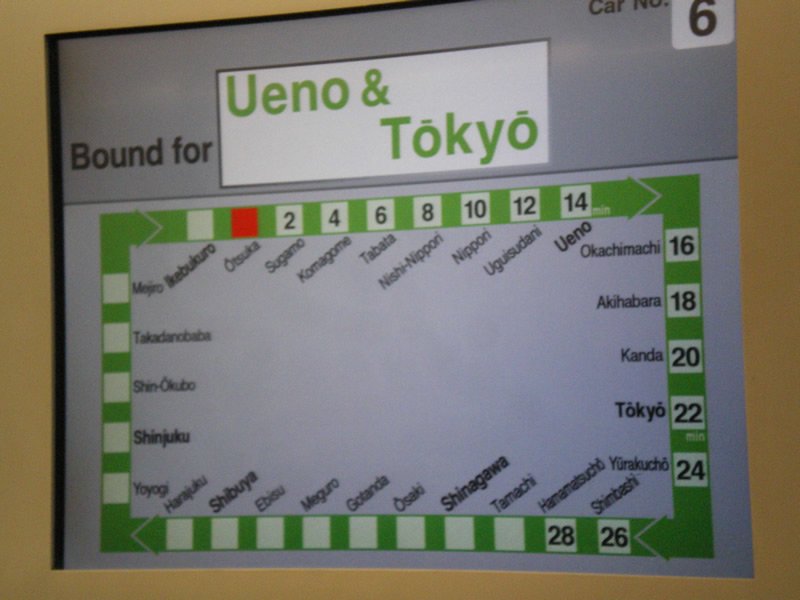
Hope on the train and take note of the LCD screens with useful info. This shows that we are at Otsuka and the next station is Sugamo. The numbers indicate how many minutes it will take to get there. These signs alternate from English to Japanese.
Figure #19
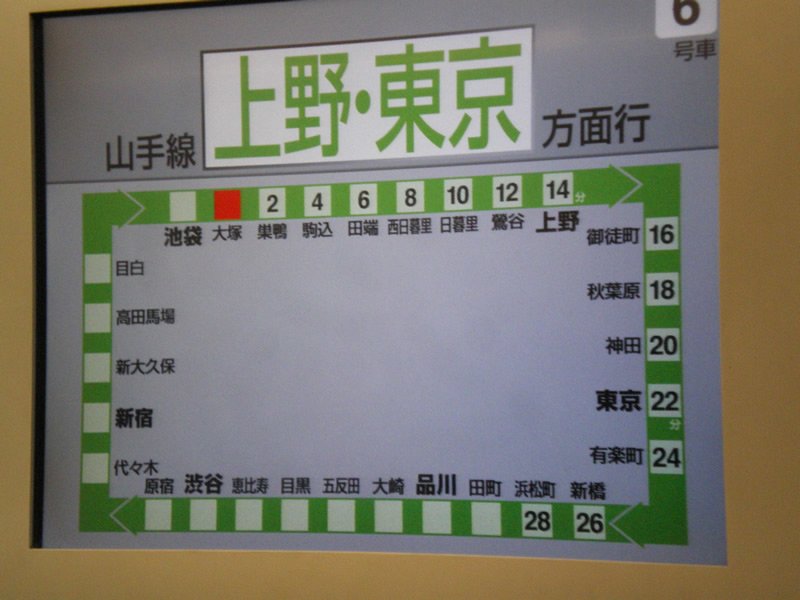
Same screen in last figure, but after it has alternated to Japanese.
Figure #20
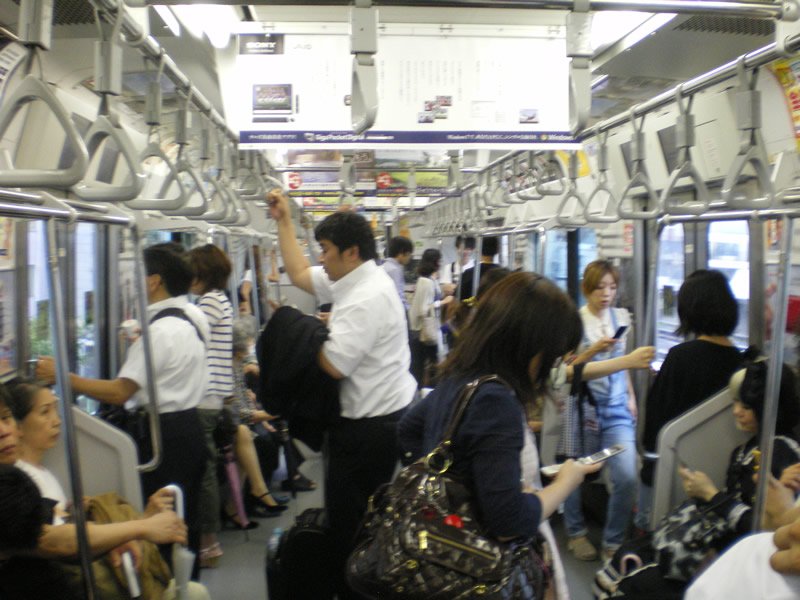
On the train.
Figure #21
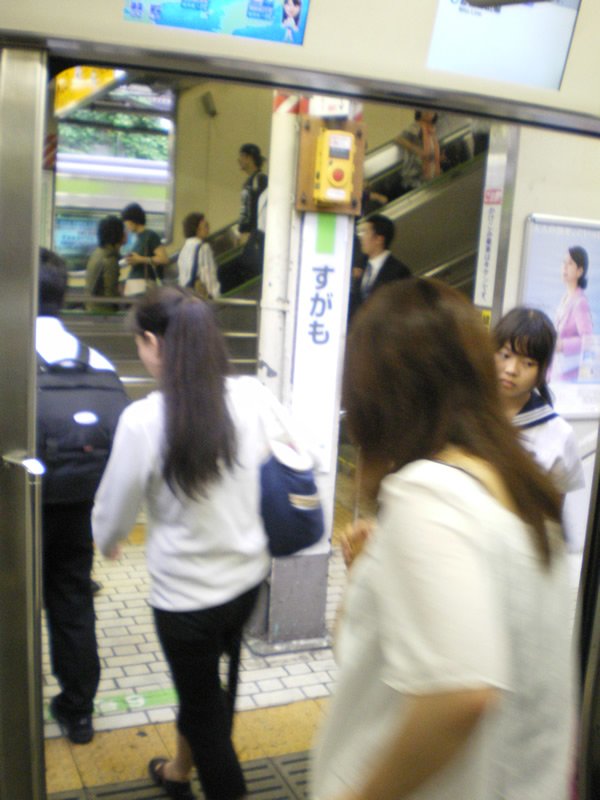
Train stopping at Sugamo, time go get off.
Figure #22
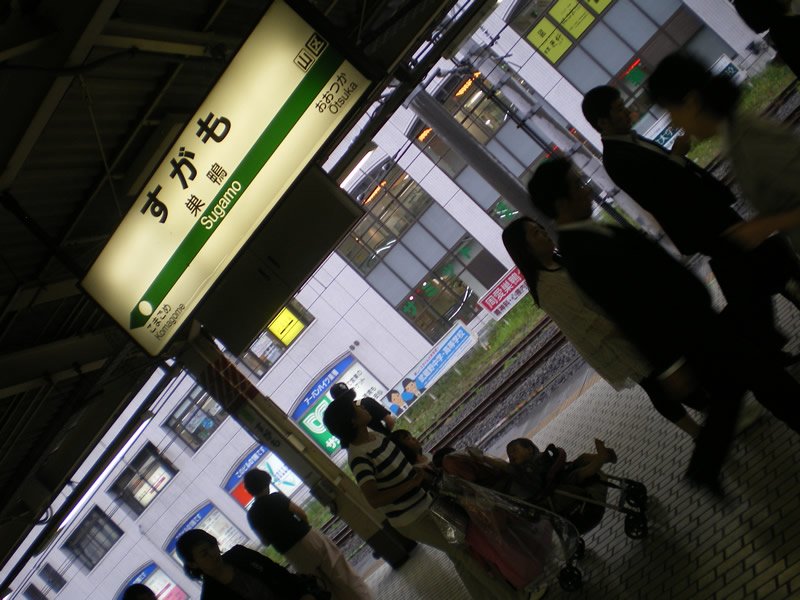
Notice this sign at the Sugamo Platform, it shows that we just came from Otsuka.
Figure #23
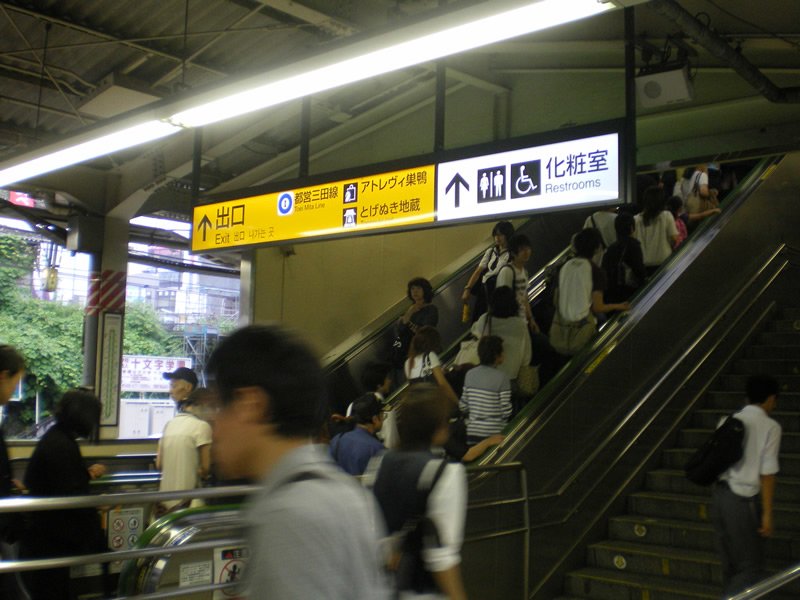
Walk down the platform until you find the escalator up. Notice the yellow sign says Exit.
Figure #24
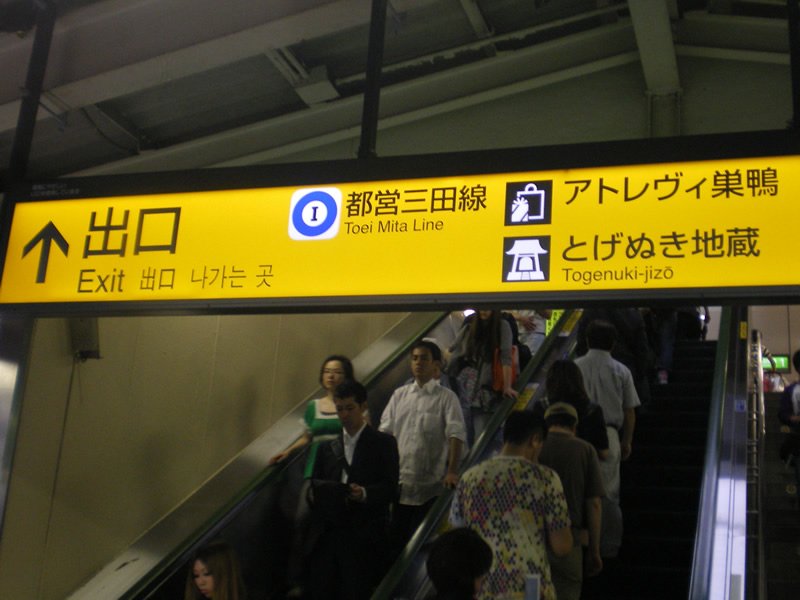
Close up on the Exit sign. Note: the blue circle with the 'I' This indicates that there is a subway nearby and that going in this direction will bring you towards the subway as well as the exit.
Figure #25
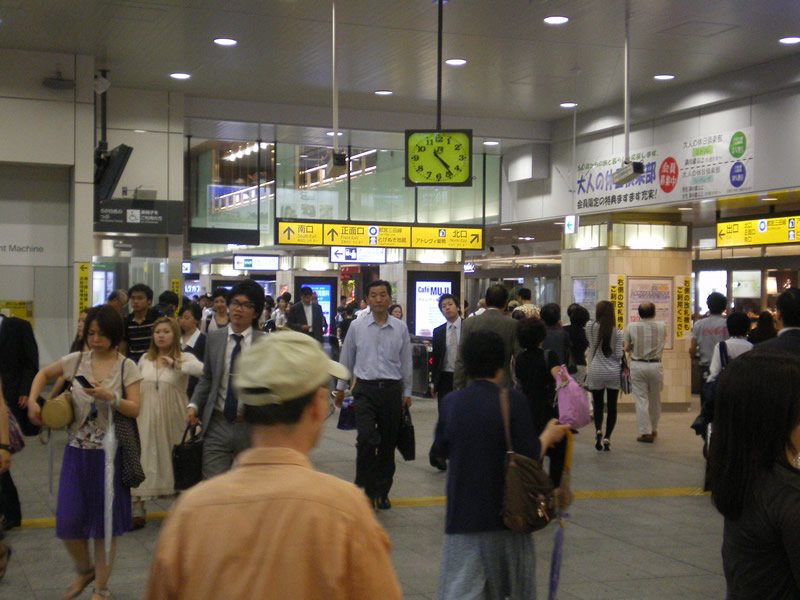
After ascending the stairs you will find this view, Sugamo Station. Keep walking straight and pass through the ticket gate.
Figure #26
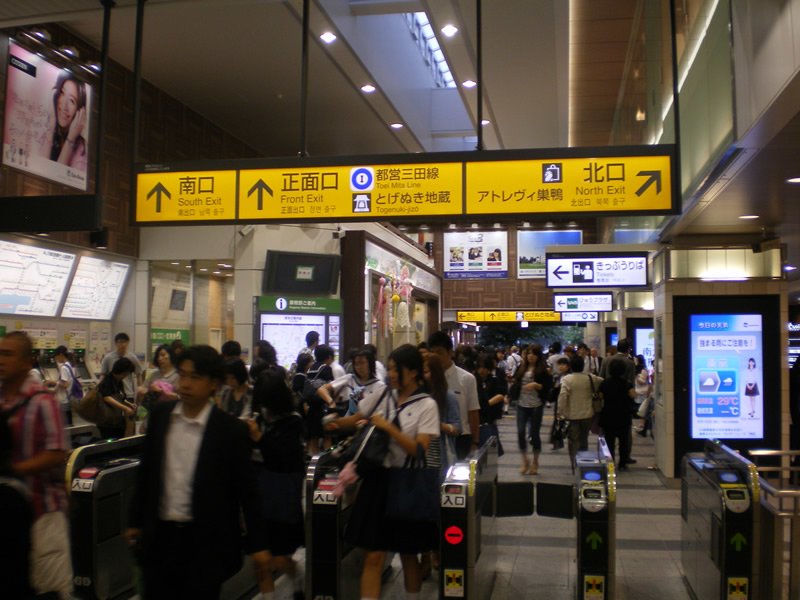
Follow the sign for the North Exit, and walk through the gate, veering right.
Figure #27

Put your ticket into the slot.
Figure #28
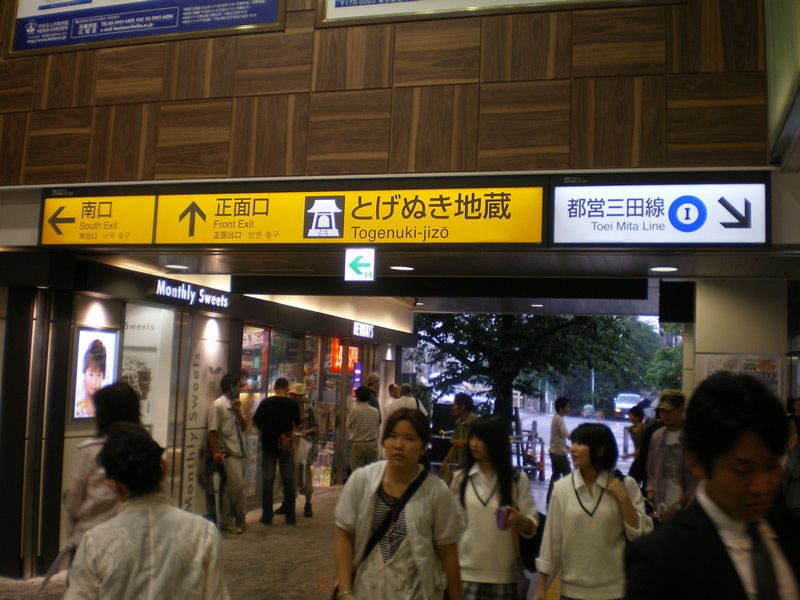
After the gate, walk forward and veer right, and you will see this view. This is the Front Exit/Entrance. Also notice there is a down arrow for the Toei Mita Subway line. Continue walking forward and you're out of the station.
Figure #29
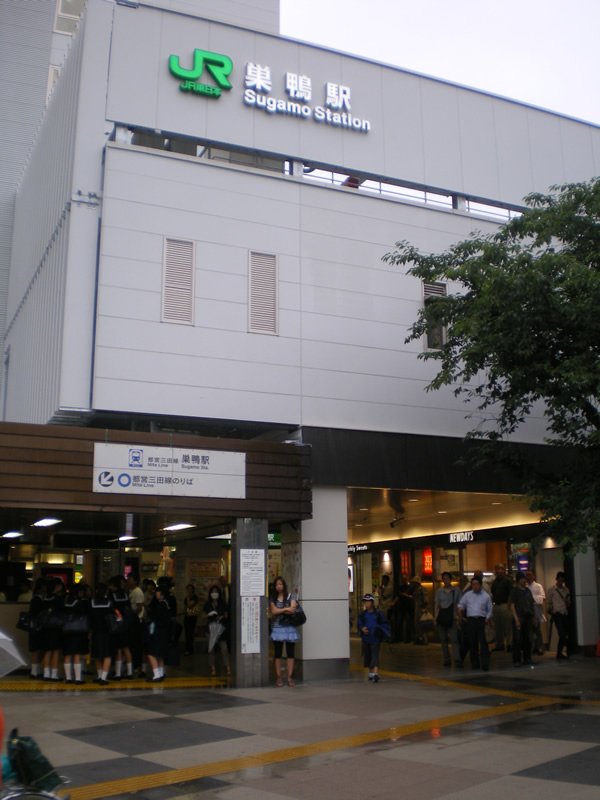
Outside the Front Exit/Entrance of Sugamo Station. Good job!
Figure #30
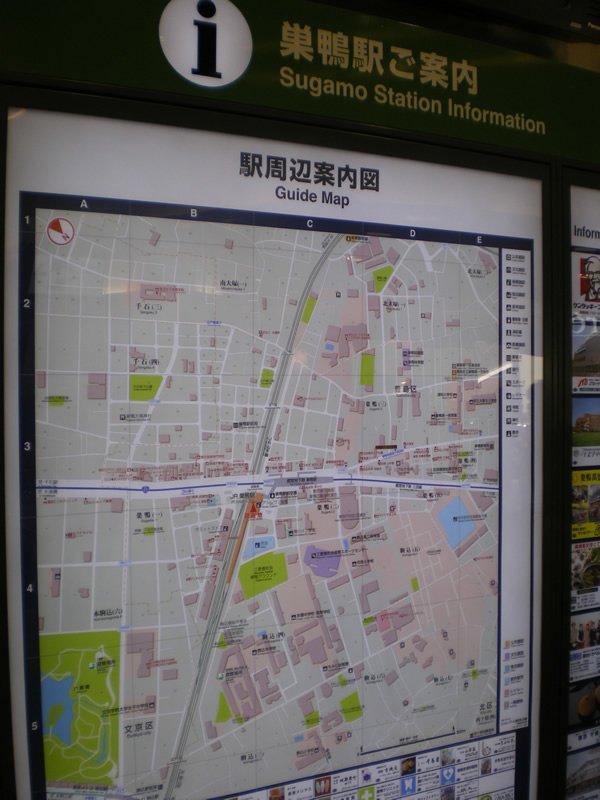
For fun, here is the Sugamo Station Area Guide Map.